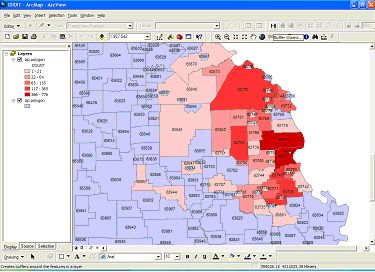
Click the “Buffer Wizard” in the “Tools” menu.
HOW CREATE BUFFERS
USING THE ARCGIS WIZARD
Starting and Working
with the Buffer Wizard
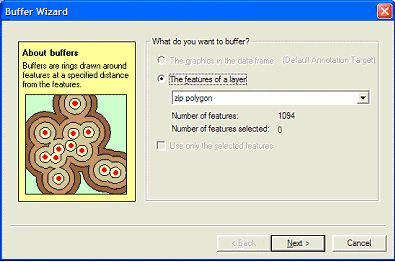
Choose the Layer you want to apply the Buffer to, and click “Next.” For example, if you want to apply a buffer to all the pizza shops, first choose the layer with that information. You can also apply a buffer to an attribute.

Choose the options that best fit your project and click “Next.” Double-check the distance units. You have many choices. It is here you choose the attribute. In the example, “As Multiple Buffer rings,” has been chosen.
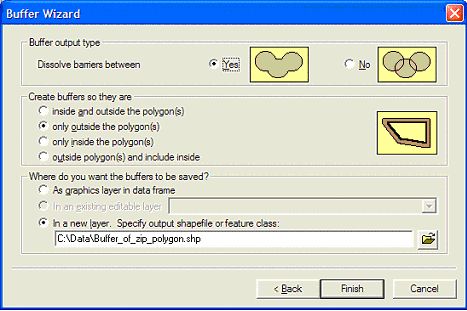
Here you can specify how you want your buffers to look. For example, you can choose to have your buffers only outside the polygon. Click “Finish.”
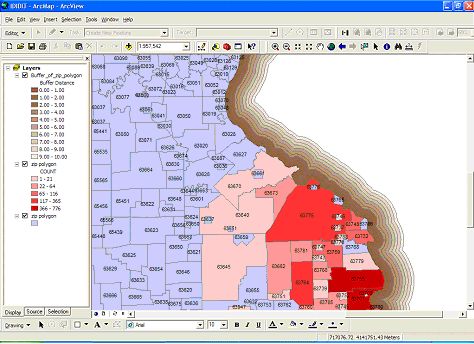
That is all there is to it. You have applied your Buffers.
In the example, a buffer has been applied around the state
of
